Final Tiles

I decided that my tile test didn’t really tile that well. At first I liked the segmented look to it, but now I think it should just tile seamlessly!

This is all vertex colour so easy to change and doesn’t get washed out. I wanted to use colours that suit the painted backgrounds.

Testing out new tiles

One thing I’ve wanted to change for ages now is the tilesheet. The problem with this is it has to tile properly and look arcadey. Building it in 3d was a real challenge as it has to be pixel perfect and tile not just left to right but up and down too.

Here’s my first attempt

Old:

New:

As you can see they are a lot higher res. I wanted to go for something that had a nice painterly style and is simple enough to not be distracting.

Alien sprite variants!

The aliens have invaded! I did some alien variants to make the game a bit more interesting and also to test out how adaptable my 3d sprites are. Recolouring them only took a few minutes! They obviously needed new rigs but were a lot of fun to make. Click for big.

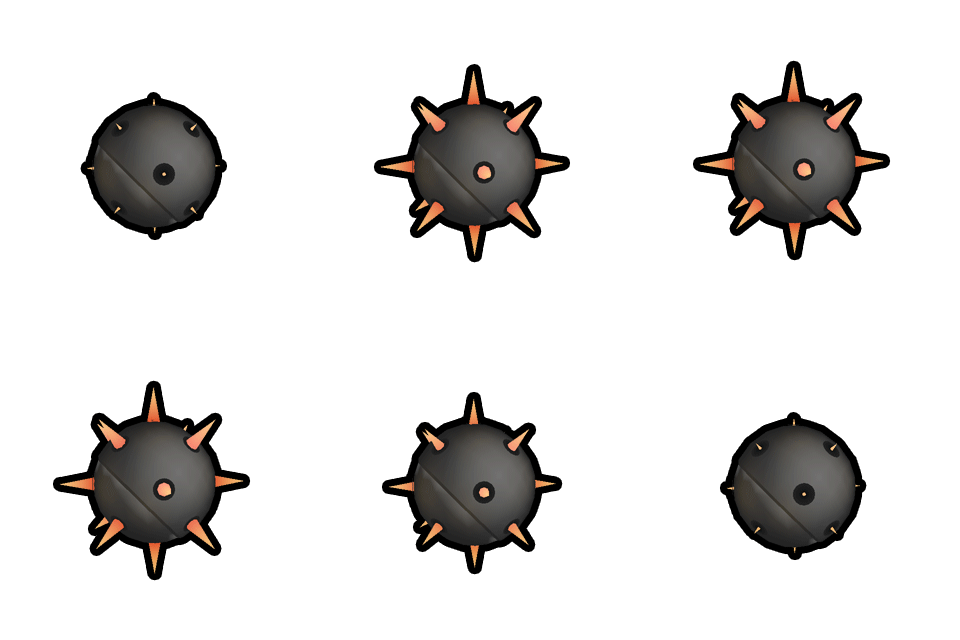
Enemy 4!

I’m gradually getting through 3d-ising these enemy sprites. 4 was quite a fun one as it has no appendages, getting something interesting was always going to be a challenge. As always, click for big.

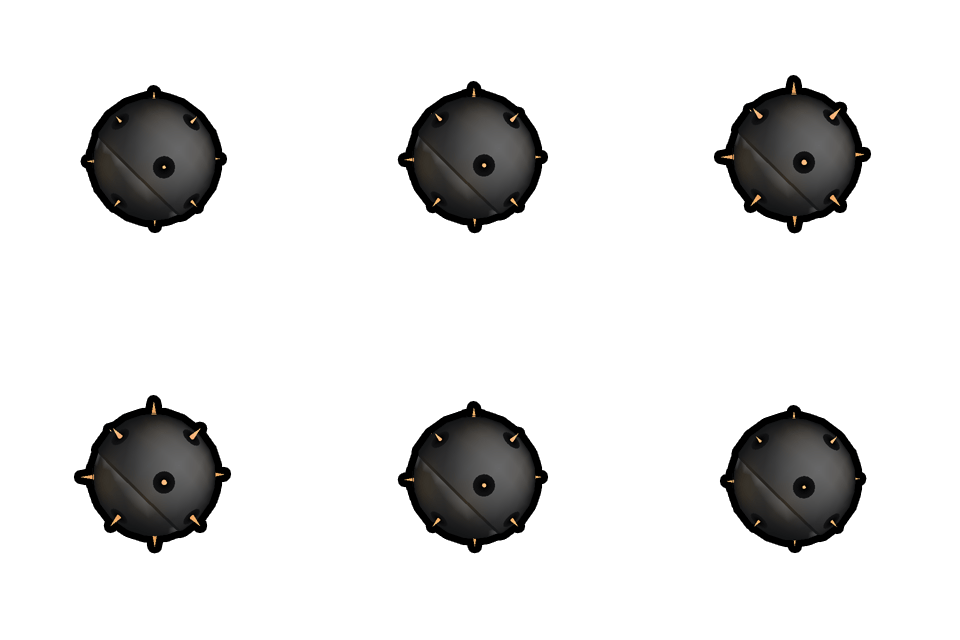
Its… enemy 3

Well that was hardly a surprise was it! It was however, surprisingly difficult to get a nice spherical vertex-paint on this ball. I had to break it up a little to make it work.

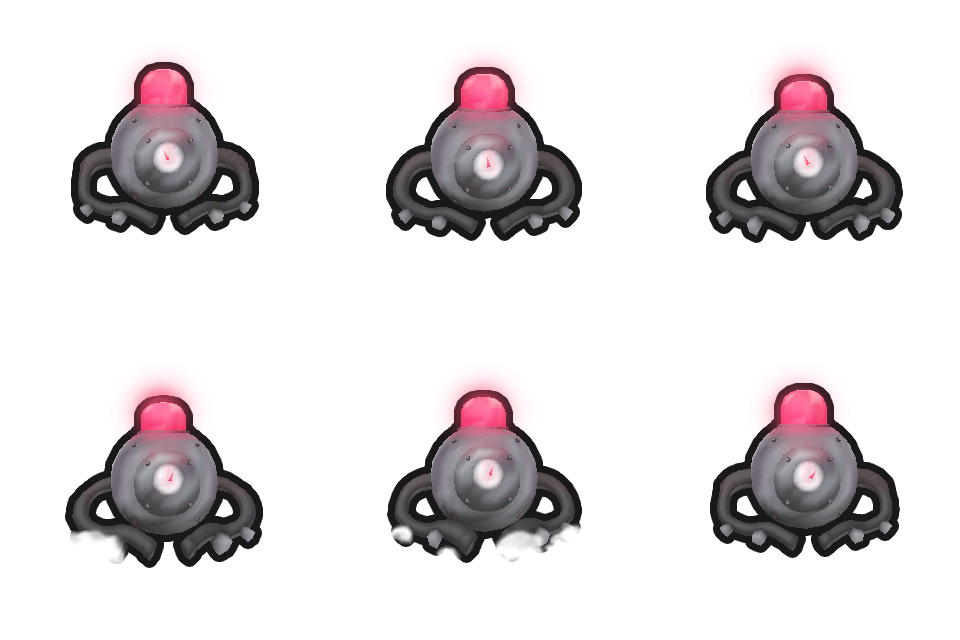
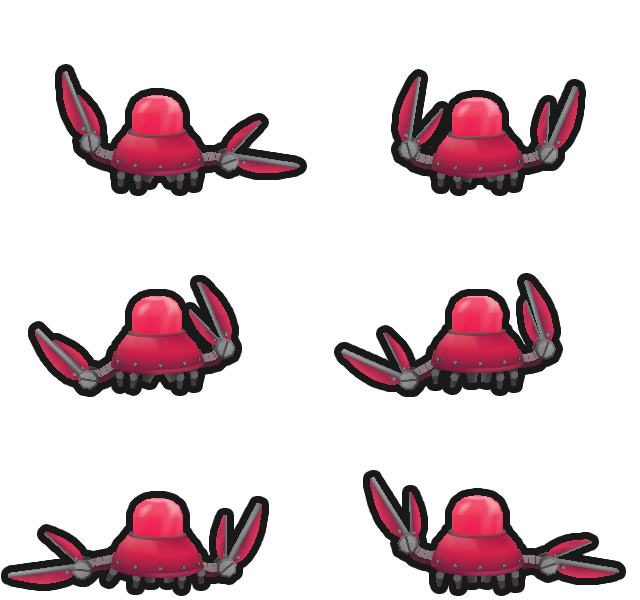
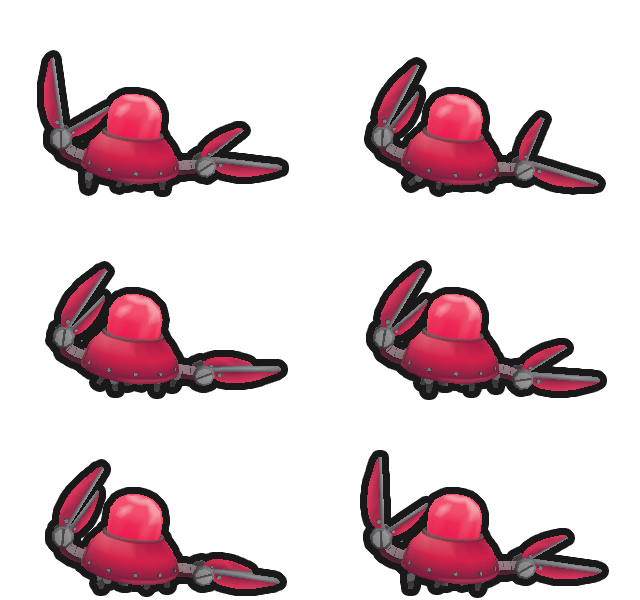
Enemy 2 has landed

Well this was a lot of fun to make. The vertex painting was great and I think I’m getting to grips with animation a little more. Here’s an idle and a walk! I tried to make it feel quite crab-like and yet robotic. The beauty of 3d is I can re-colour and tweak it easily.

Click for big

More enemies soon

Some more JD 3D work!

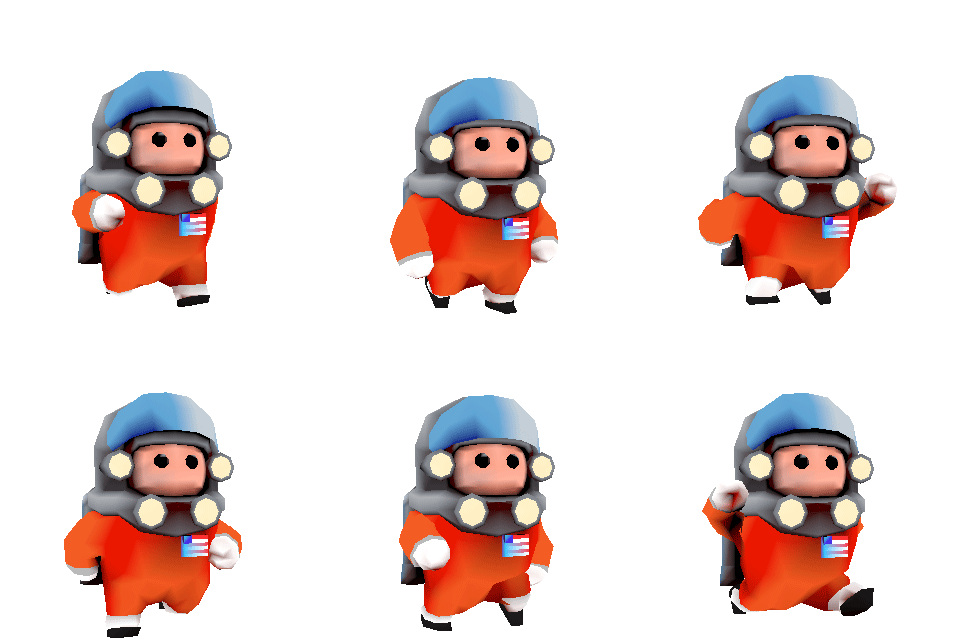
Hi guys I’ve been busy busy busy redoing it all in 3d. It’s been a great learning process and actually super fun animating little sprites.

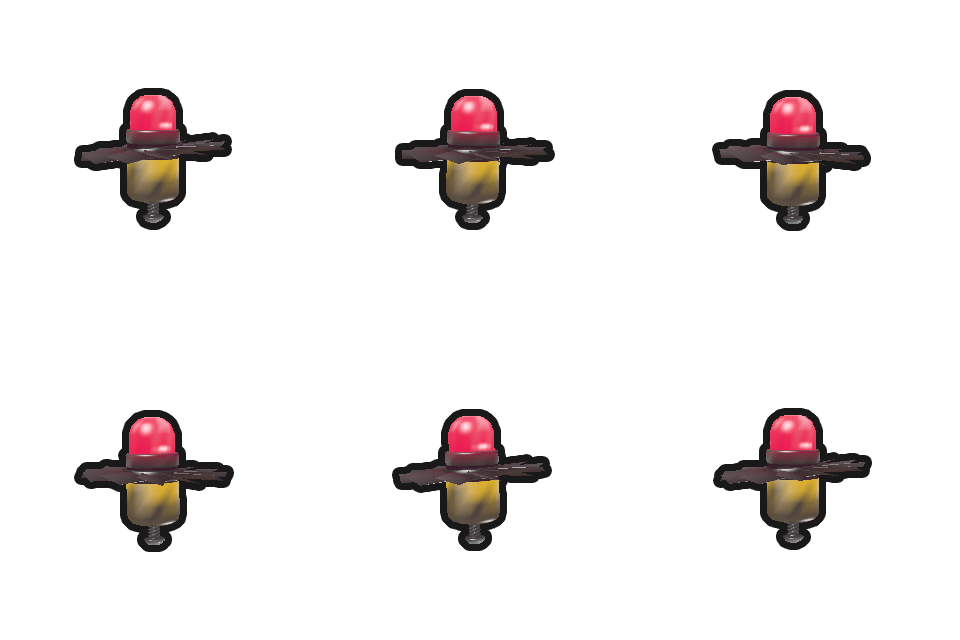
Click for big. Here’s some simple dynamite rendered out.


And here’s a big one: JD with Idle, run, fly and fall


click for big!

A breakdown on sprite-making in 3ds max

I thought I’d make a little tutorial on how to make sprites purely in 3d (with a little compositing in photoshop after)

So you want to make 3d sprites. You’ve come to the right place.

Now we don’t need to worry about triangle-count or texture size as they’re going to be rendered to 2d, but it would be sensible to keep them to a decent size for rigging and animating. Also as we’re rendering them down small, you don’t want a ridiculous resolution on your maps as you’ll just lose the detail. For my models I actually chose to vertex paint them to give them a more cartoony feel.

Ok so first you need to make your model. Here’s the alien monster in 3d:
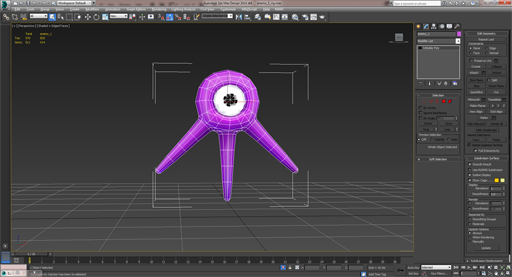
He’s in a T post ready to be rigged. As you can see I kept the poly count down to sensible levels. He’s meant to look gamey after all.
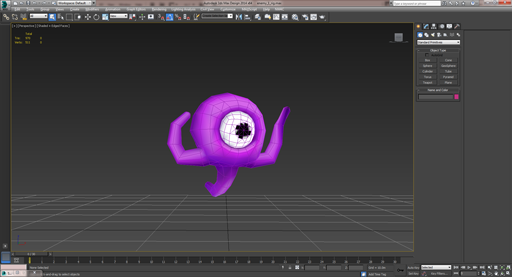
Here’s the alien rigged up with a custom skeleton.
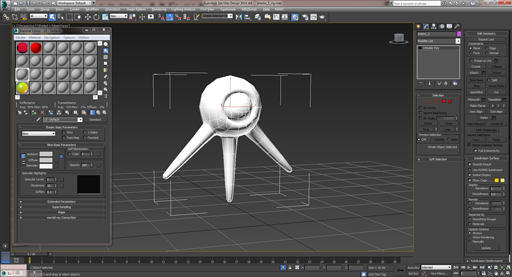
Here’s the mesh without colour.
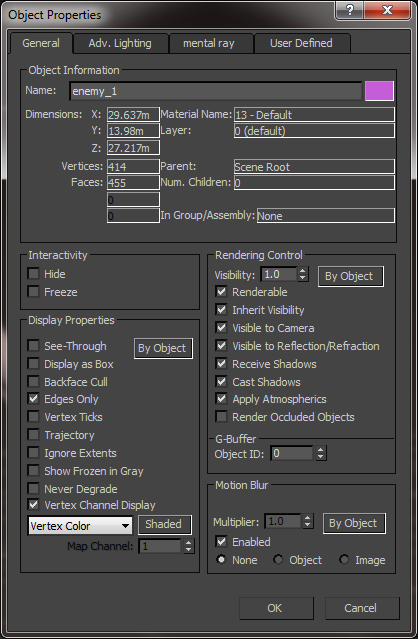
Turn on “vertex channel display” to make the mesh vertex-paintable
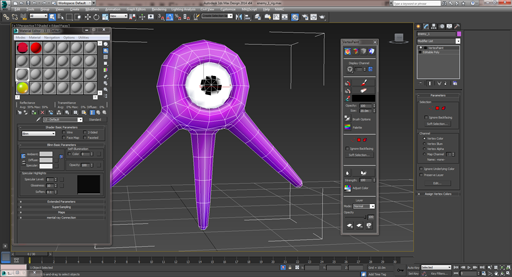
Add a vertex paint modifier and get painting! It has layers so you can use it like photoshop with blending. I found that doing an ambient occlusion bake and assigning it with the bottom right menu and applying it as an multiply layer adds some great shadowing.
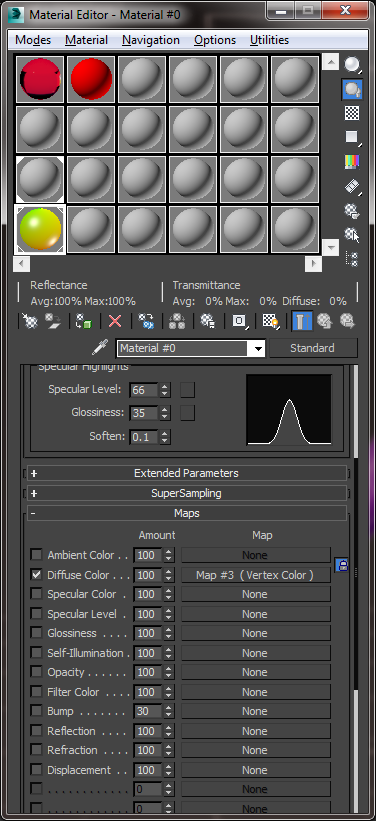
Now you have to add a vertex colour material to the mesh. This enables the vertex colours to show up when rendering out to the sprite sheet. If you click on Standard map and t hen change that to Vertex Colour, it’ll come through great.
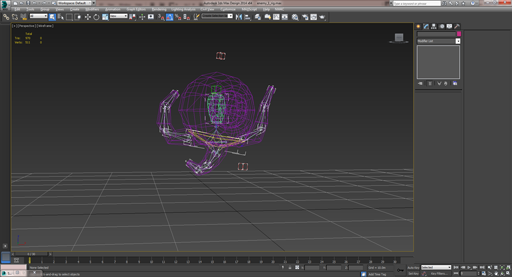
Next you need to rig it up! As you can see I have a mix of biped and custom bones (for the eyeball). You really don’t need to worry about bone count or anything here as you aren’t exporting anything. I used biped here because of its IK and ease of copying poses.
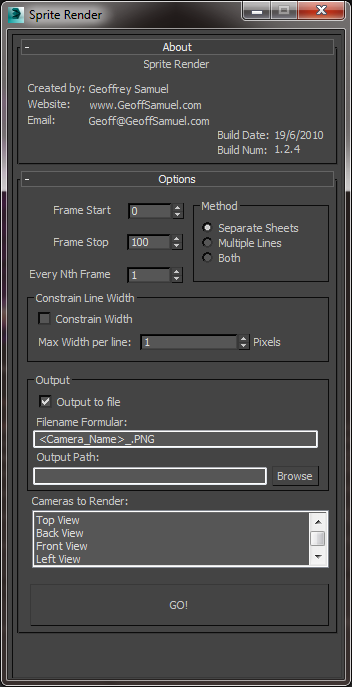
Here’s the Sprite Renderer I found on the internet, it’s easily googleable. You want to start the frame on 0, end on whatever your last frame is and the Every Nth Frame box lets you skip frames (for instance render every 2nd frame etc) for longer animations. Chuck a camera in the scene and click Go!

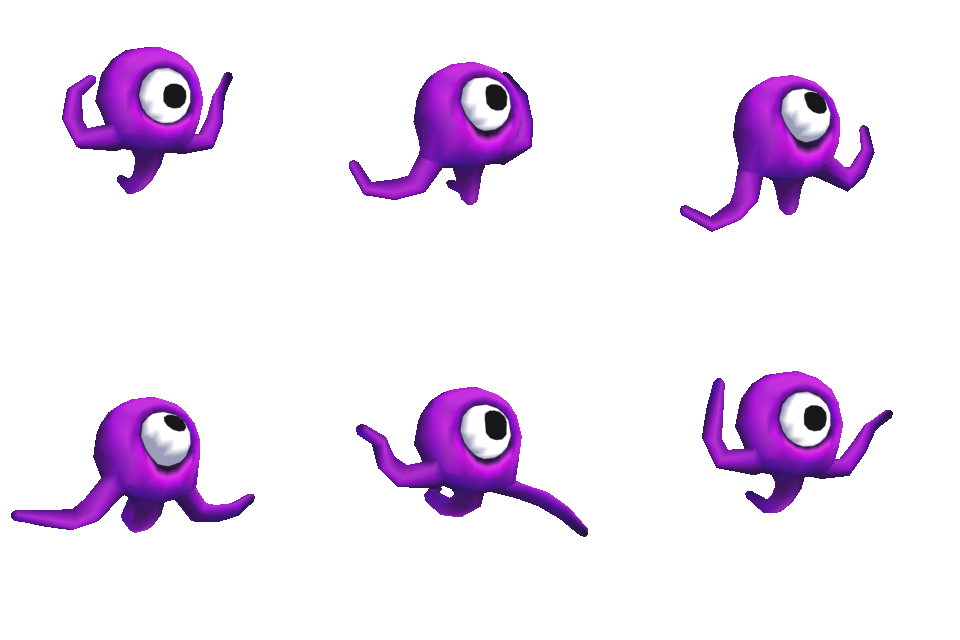
And you’ll end up with something like this. This is two seperate animations, an idle and a “run” combined in photoshop one on top of the other. I then added a stroke blending option and tweaked the colours a little! Total time to render and pack in to sprites: 10 minutes.


More 3d-ing 2d!

If the title didn’t confuse you then please keep reading. If it did then just look at the pictures.

I’ve managed to find some decent render settings for turning 3d in to sprites, and an awesome sprite exporter that lets you set the cell size, amount of cells and number of rows. Now if I need to change anything I can change it with the ease of 3d but with the quality end result and filesize of 2d! It used to take hours to move even an arm, now I can do it in 5 minutes. And have way more frames!

This gif is a little static but a first try at some animation, stay tuned!